Assembly#

What you will need

  • Watchtower parts.

  • A micro SD card with the Watchtower image on it. The procedure to flash the SD card is explained here.

  • Some wood glue.

  • 2 hours of assembly time.

What you will get

  • An assembled and fully operational watchtower.

Attention

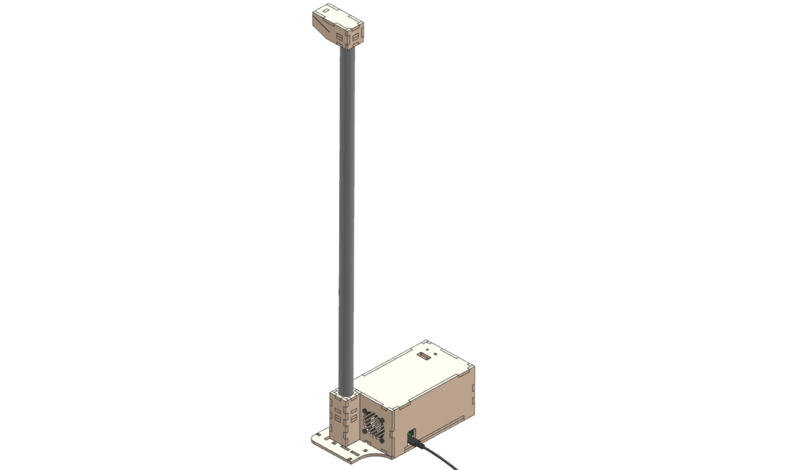
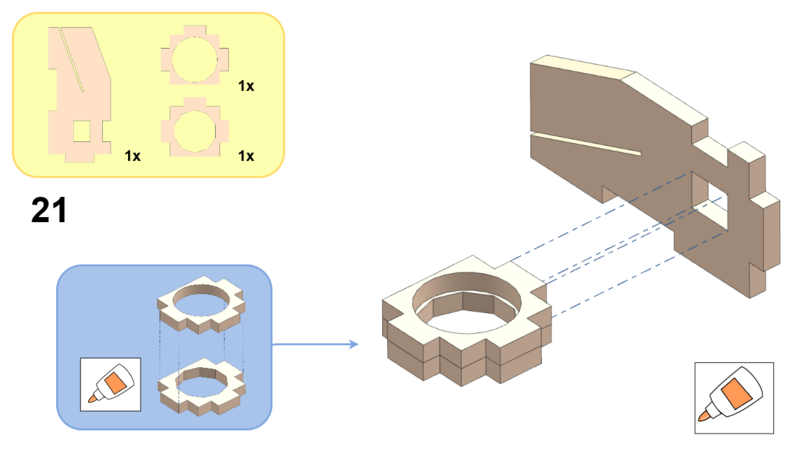
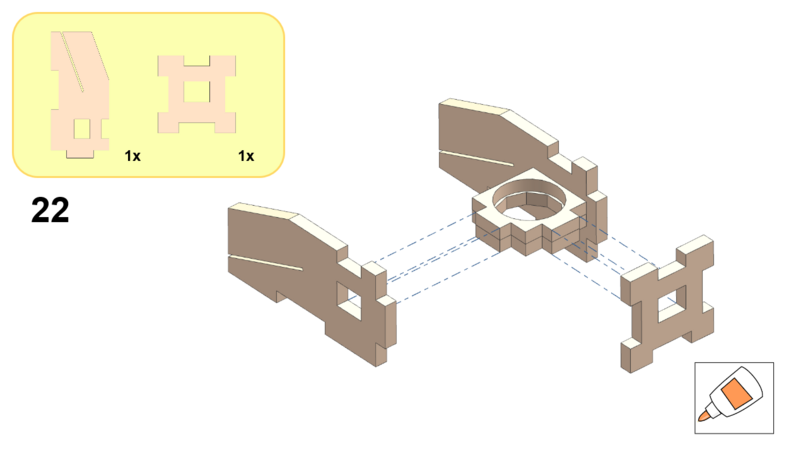
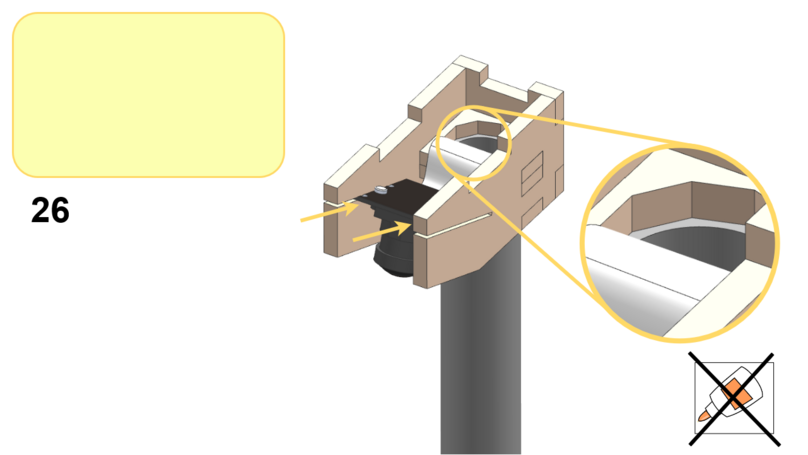
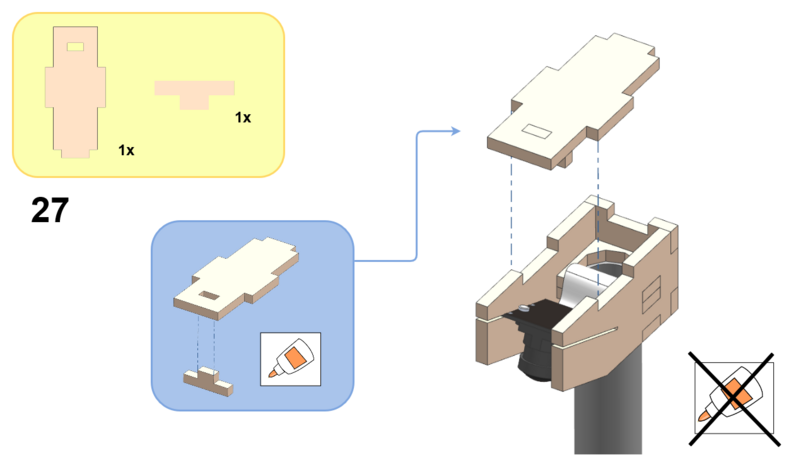
Make sure to pay attention to which parts need to be glued and which don’t (see appropriate glue sign in the bottom right corner).

Basic Case#

../_images/STEP_01.png
../_images/STEP_02.png
../_images/STEP_03.png
../_images/STEP_04.png
../_images/STEP_05.png
../_images/STEP_06.png
../_images/STEP_07.png
../_images/STEP_08.png
../_images/STEP_09.png
../_images/STEP_10.png
../_images/STEP_11.png
../_images/STEP_12.png
../_images/STEP_13.png
../_images/STEP_14.png
../_images/STEP_15.png
../_images/STEP_16.png
../_images/STEP_17.png
../_images/STEP_18.png
../_images/STEP_19.png
../_images/STEP_20.png

Camera Housing#

../_images/STEP_21.png
../_images/STEP_22.png
../_images/STEP_23.png
../_images/STEP_24.png
../_images/STEP_25.png
../_images/STEP_26.png
../_images/STEP_27.png
../_images/STEP_28.png

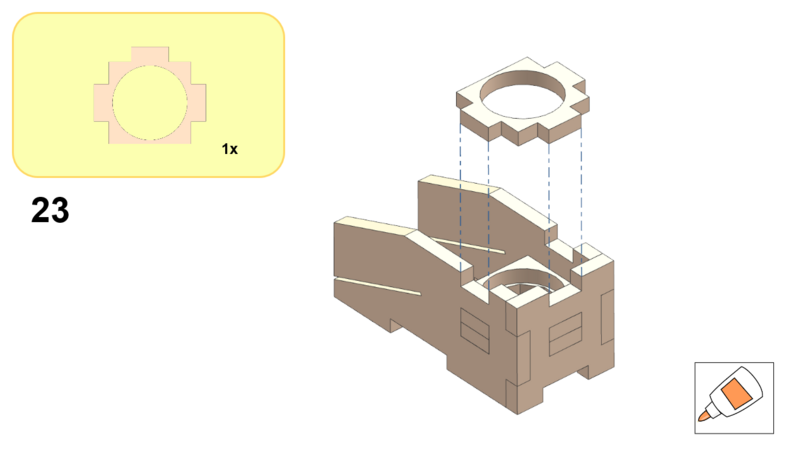
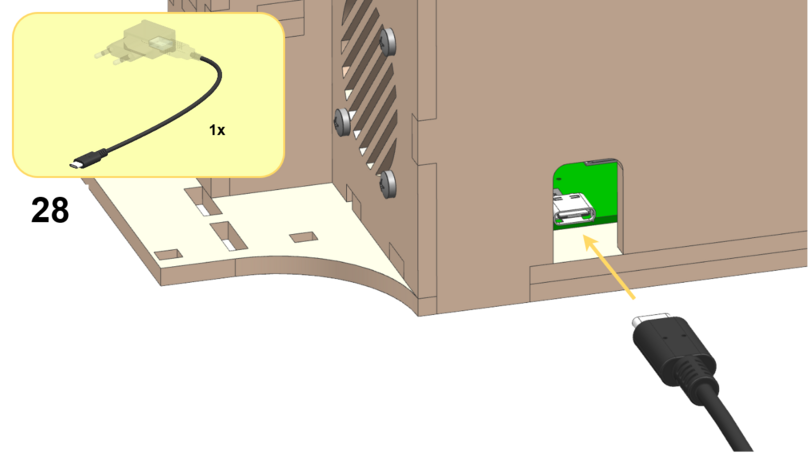
The final result after completing step 28 should look like this:

../_images/Complete_Watchtower.png