Autolab Map Editor
Contents
Autolab Map Editor#
What you will need
Knowledge about what an Autolab is
What you will get
Created map for Duckietown
Map Editor#
You can launch the map editor using the following command:
dts map editor
You will see the map editor window:

Fig. 12 Map editor interface#
How to Create a New Map?#
To create a new map, you should specify the sizes (width, height) of the map, the size of tiles (width, height), map name, folder for saving the map, and base title for filling the map.
Setting |
Value |
|---|---|
Default map size |
|
Default tile size |
|
Default map name |
|
Default folder in Docker |
|
Default title |
|
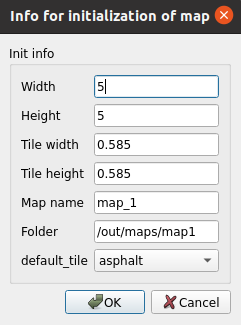
Fig. 13 Create map form#
Then, the map generation process should be initialized. Sample editor window:
Fig. 14 Created map#
How to Add an Object to the Map#
You can add any object(s) from the left menu, except the first two blocks, “Road tiles” and “Fill tiles,” which describe the types of tiles. To add an object, double-click on the object in the left menu.
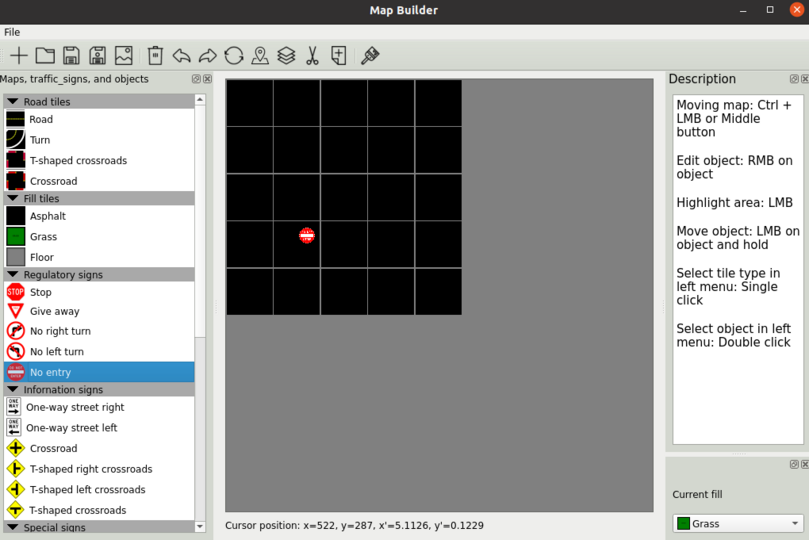
Fig. 15 Add object to the map#
For editing the attributes of an object, right-click on the object and edit its attributes in the opened window. The window should look like this:
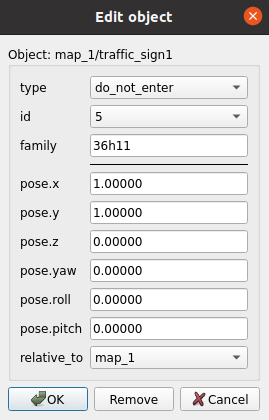
Fig. 16 Edit object form#
For editing tiles, you should activate the brush mode. After that, choose the type of tiles in the left menu. Then, you can select/brush the grids to apply the selected tile type.

Fig. 17 Brush button#
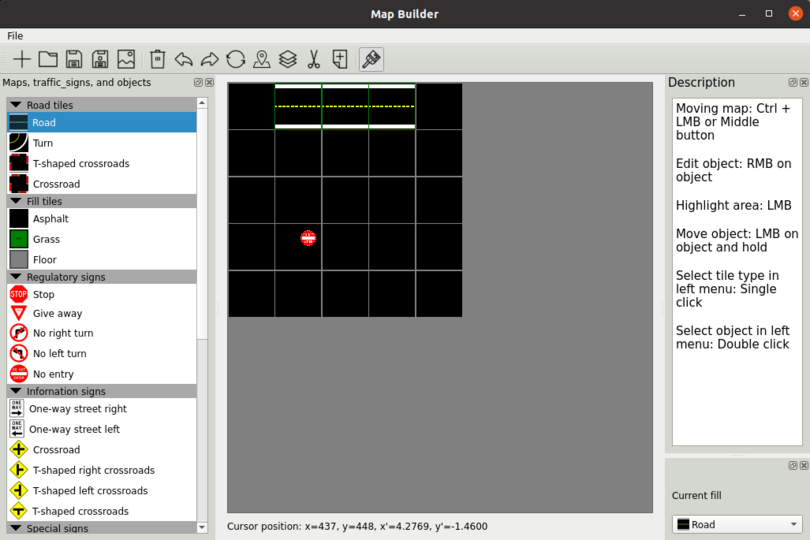
Fig. 18 Painting tiles#
Select Objects#
To select objects, simply click on them.
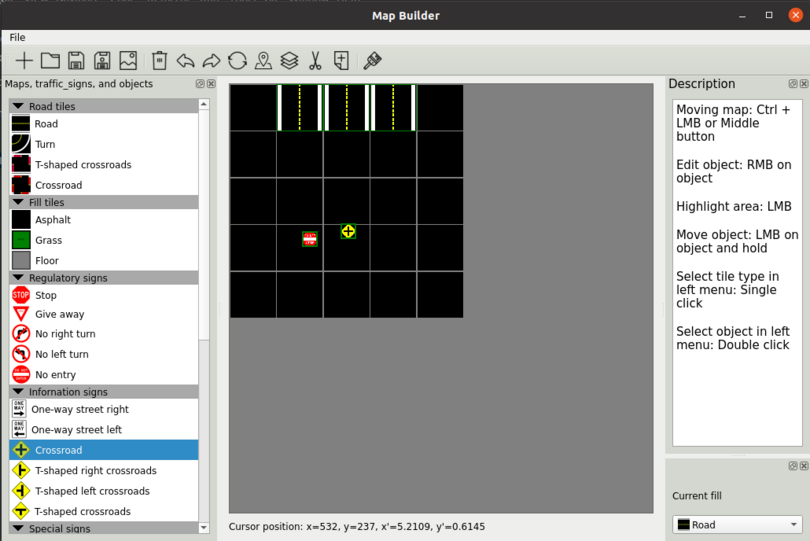
Fig. 19 Select objects#
Rotate Tiles and Objects#
For rotation, select the required tiles and objects, and click the rotation button in the toolbar.

Fig. 20 Rotate button#
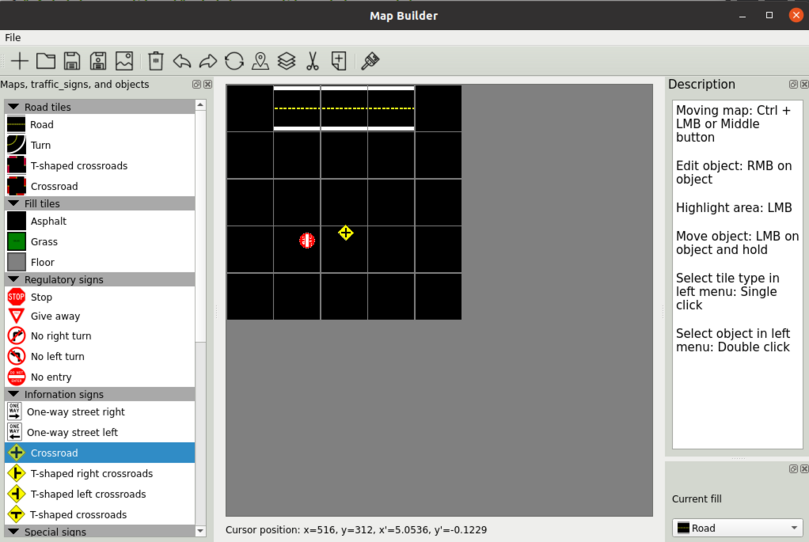
Fig. 21 Rotation result#
Delete Objects#
To delete objects, select the required objects and click the delete button in the toolbar.

Fig. 22 Delete button#
Copy Tiles and Objects#
For copying, select the required tiles and objects, and click the copy button in the toolbar.

Fig. 23 Copy button#
For example, select straight road tiles and copy them.
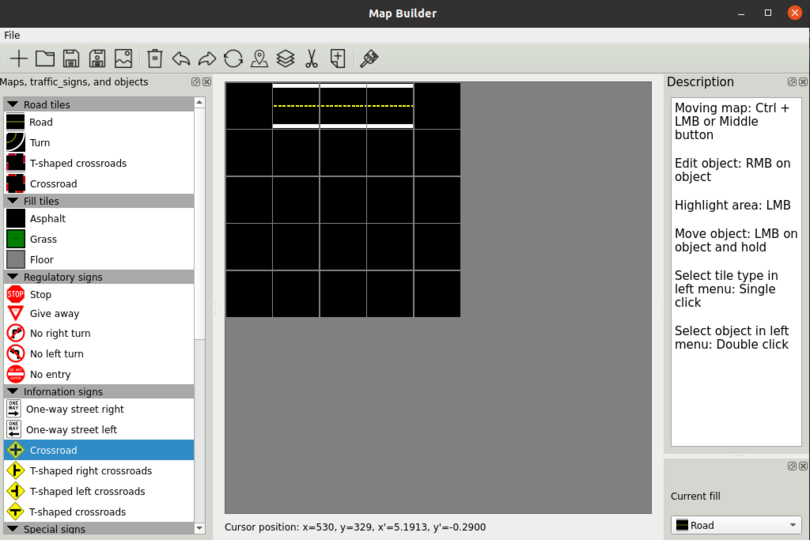
Fig. 24 Select tiles for copying#
Paste Objects#
To paste objects, copy tiles and objects, click on the tile on the map, and then click the paste button in the toolbar.

Fig. 25 Paste button#
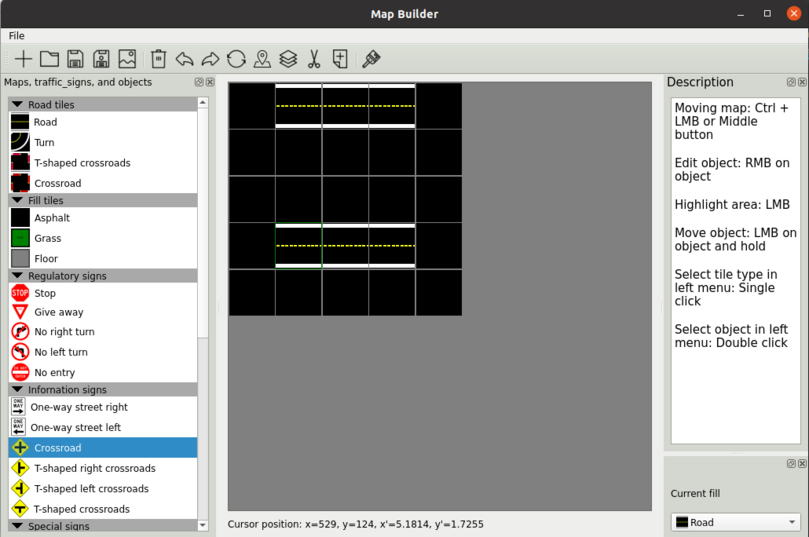
Fig. 26 Pasting result#
Cut Objects#
For cutting, select the required tiles and objects and click the cut button in the toolbar. Tiles will be replaced with “asphalt,” and objects will be deleted. Cut tiles and objects will be copied.

Fig. 27 Cut button#
Save Map to PNG#
To save the map as an image, click the “Save to PNG” button in the toolbar.

Fig. 28 Save map as PNG button#
Then, select the desired name for saving the image and its height in the form.
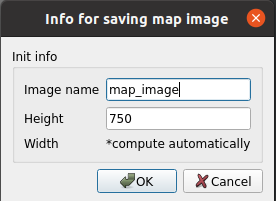
Fig. 29 Save map as PNG form#
The image is saved in the directory from which the editor is launched.
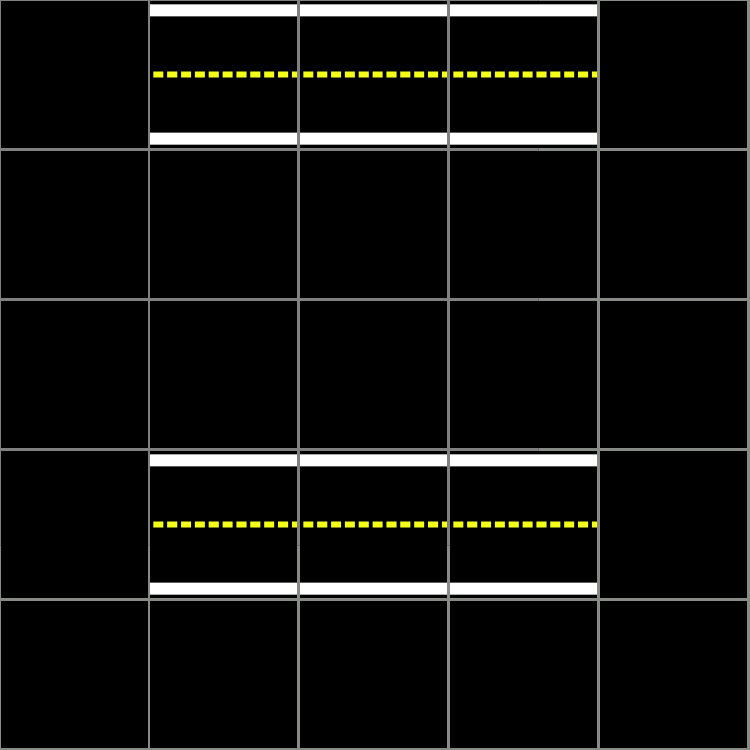
Fig. 30 Result of saving the map as PNG#
Save Map#
To save the map, click the “Save” button in the toolbar. If you want to select a folder to save the map, click the “Save Map As” button in the toolbar and select the folder on the filesystem where the map will be saved.

Fig. 31 Save map button#

Fig. 32 Save map as button#
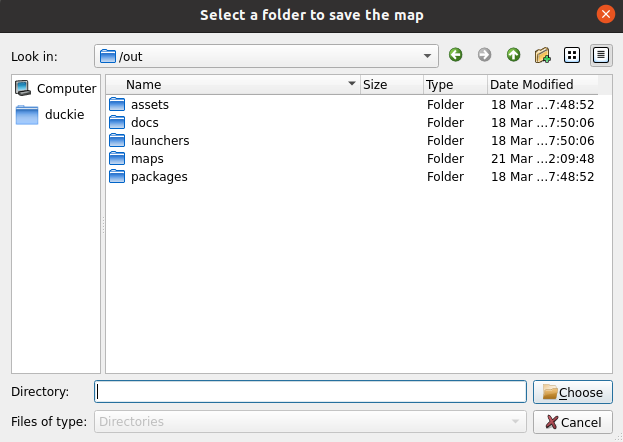
Fig. 33 Select folder in the filesystem for saving the map#
Open Map#
To open a map, click the “Open” button in the toolbar and select the folder on the filesystem where the map is located.

Fig. 34 Open map button#
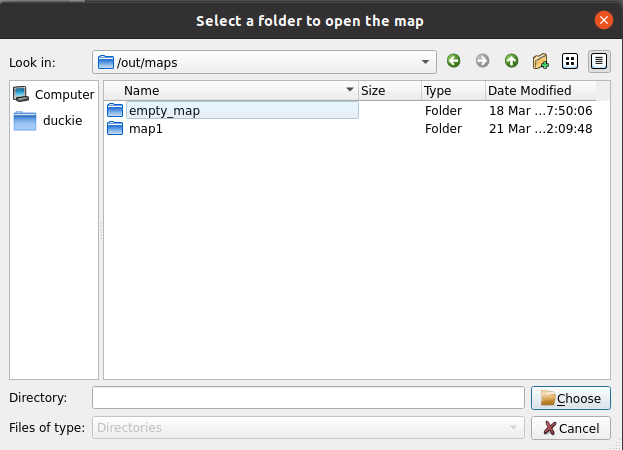
Fig. 35 Select folder in the filesystem for opening the map#
Moving Map#
To move the map, click the middle mouse button and drag the map.
Fig. 36 Map before dragging#
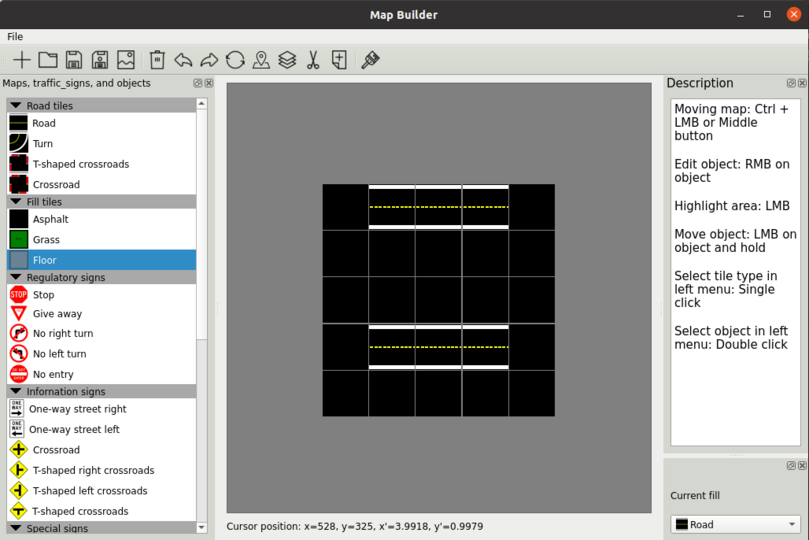
Fig. 37 Map after dragging#
To move the map to the top left corner of the window, click the “To the Corner” button in the toolbar.

Fig. 38 To the Corner button#
Scaling the Map#
To scale the map within the window, simply roll the mouse wheel.
Actions History#
To navigate through the history of changes, you can click on the “Undo” button or the “Redo” button.

Fig. 39 Undo button#

Fig. 40 Redo button#
Debug Line#
At the bottom of the editor, you will find a debug line displaying Qt coordinates and map-translated coordinates.
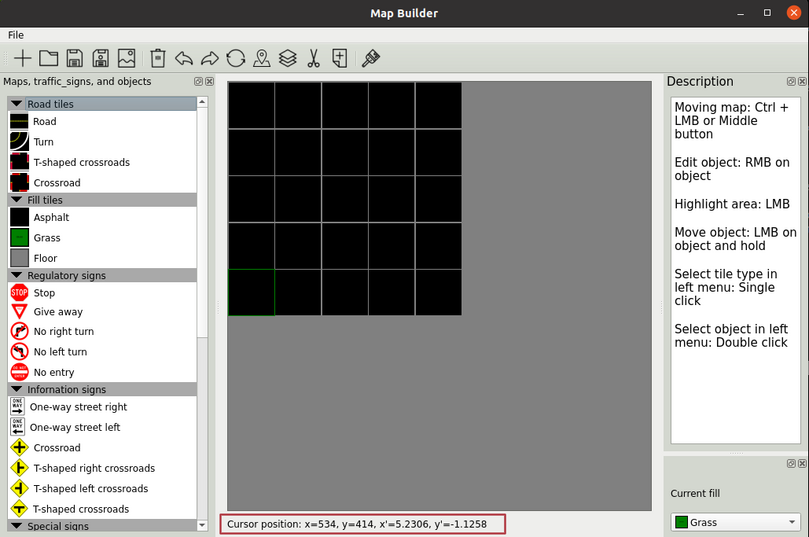
Fig. 41 Debug line#
Dynamic Layers#
Dynamic layers are layers not defined in dt-maps, but they can be read and configured directly from a file. Currently, you can only read and display such layers in the editor without the ability to add new objects to dynamic layers on the map.

Fig. 42 Example of a dynamic layer in a YAML file#
To add a layer, create a file with the name of the layer, add layer objects with the desired configuration to it, and add the location of the objects within the frame layer.
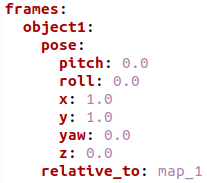
Fig. 43 Added frame objects for dynamic layers#
When opening the map, the objects of dynamic layers will be displayed as gray icons.
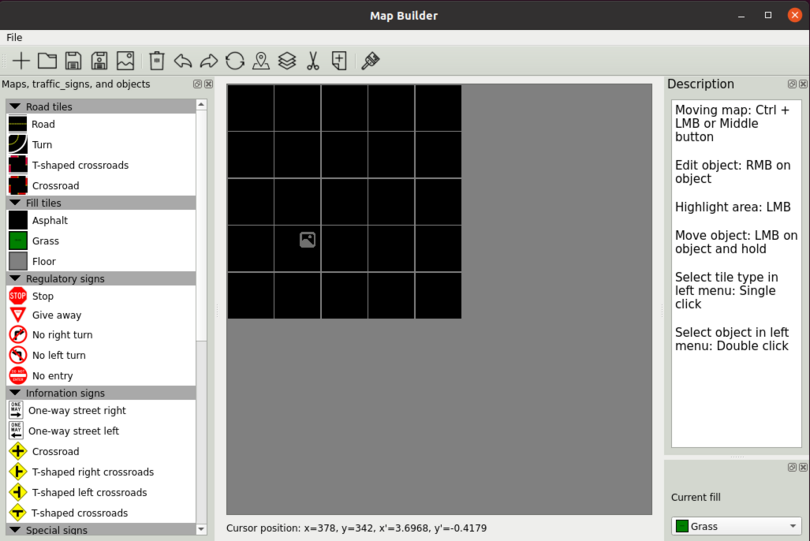
Fig. 44 Dynamic layer objects on the map#
Objects within dynamic layers can be modified using the edit form.
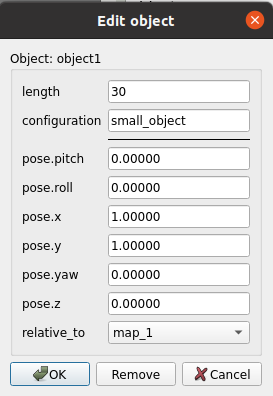
Fig. 45 Edit form for dynamic objects#
Hotkeys#
Action |
Hotkey |
|---|---|
Exit |
Ctrl+Q |
Create map |
Ctrl+N |
Open map |
Ctrl+O |
Save map |
Ctrl+S |
Save map as |
Ctrl+Alt+S |
Save to png |
Ctrl+P |
Delete |
Ctrl+D |
Undo |
Ctrl+Z |
Shift undo |
Ctrl+Shift+Z |
Rotate |
Ctrl+R |
To the corner |
Ctrl+M |
Copy |
Ctrl+C |
Cut |
Ctrl+X |
Paste |
Ctrl+V |
Brush mode |
Ctrl+B |